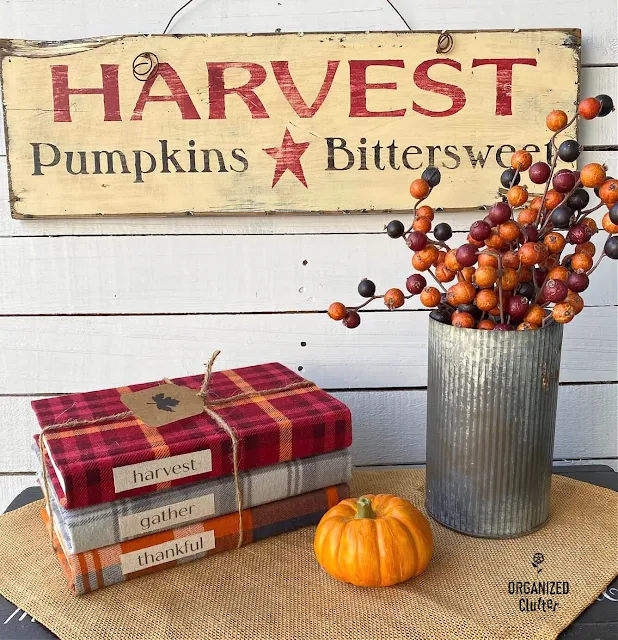
My project today started out with three very similarly sized thrift shop
books.
I gave them a fun fall makeover WITHOUT PAINT OR STENCILS! Take a look
below.
(When you click on the bold Amazon, Old Sign Stencils or Dixie Belle Paint Company affiliate links you will be taken to the products I used for this
project. If you order it does not change the price or service at all. As
an Amazon Affiliate, Old Sign Stencils Affiliate or Dixie Belle Paint
Affiliate, I earn from qualifying purchases.)
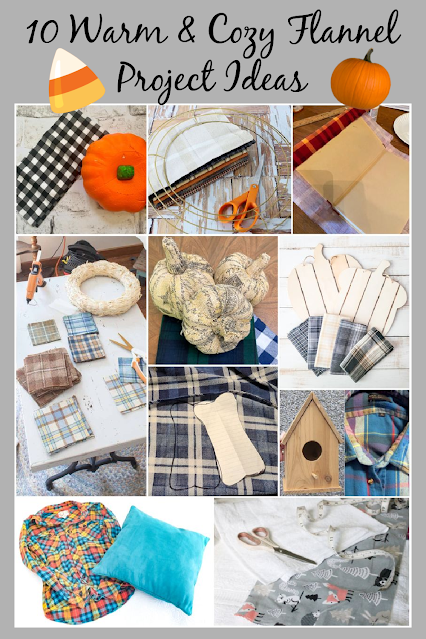
I have also included more flannel projects from the whole
Thrifty Decor Team in this post!
I was able to find two plaid fabrics at Hobby Lobby and Joann Fabrics
that were less than $6 a yard, and one was less than $4.
I chose to cover my three books with plaid flannel. This project is
included in Sarah's book, along with 54 other flannel project tutorials.
First, I cut out a rectangle of flannel fabric about 2" wider and longer
than my book. I ironed the fabric to remove the fold wrinkles.
Next, I used a sponge brush with Mod Podge to cover the spine of the
book. I placed the spine down in the center of the fabric.
Then, I flipped the book on one side and brushed more decoupage paste on
book's top to attach the flannel. I pressed the fabric into all the book's
grooves for a great fit!
I then attached the flannel to the bottom side of the book.
I applied a line of Mod Podge along the inside cover edge to attach my 2"
flannel overhang to the book cover.
I cut a strip of flannel off my bottom overhang.
Then I snipped the ends of the overhang at a 45 degree angle, and applied
more Mod Podge. (I cut the corner of flannel fabric to one thickness by cutting off the
top fabric.)
I was very careful to tuck any fabric ends or strings under the fold to get
a very smooth and neat book corner.
I repeated this procedure on the other three ends. Then I was left
with this little tab of fabric on the ends of the spine.
I cut it off much shorter, and pushed glue into the little gap between the
book spine and book pages. I used a wooden shish kebob skewer to apply glue, and then pushed the fabric into that area with a skewer as well. Here again, I added a bit of glue here and there, to make sure
any loose strings or ends of fabric was folded under and underneath for a smooth
edge.
One book done and two to go!
The other two actually went much easier after I knew the ropes!
I actually thought that I was going to stencil the spines with fall words,
but alas, my stencil was too big for the spine.
In plan B, I decided to computer print labels on muslin fabric, and then iron them onto the book spines. I used
Picmonkey
to set up my fall words in a suitable font, and to make sure they were uniformly sized and
spaced too.
I put the muslin/Heat and Bond 4" x 6" piece, into the photo slot on my
inkjet printer. The muslin side was placed down, just like the shiny side of
photo paper for my printer.
I printed it, and it worked! However, the first muslin piece printed had
some stray ink rubs here and there. The second try came out really
clean.
I cut out the labels on the lines, removed the HeatnBond paper backing, and
ironed the labels onto the spines of my books. I used a scrap of
parchment paper over the label just in case the inkjet ink would smear with
the iron.
I made sure the labels were in a straight line when the books were
stacked.
Lastly, I tied the books together with a piece of jute twine and added my brown paper leaf tag.
The plaids are so colorful!
I'm very happy with my fall book project!
Now it's time for more flannel projects with the
Thrifty Decor Team!
Follow the links to more fabulous flannel projects:
Thanks for visiting!


Love this idea! Thanks for sharing.
ReplyDeleteThanks so much Sandi!
DeleteCarlene, the books look amazing!! I am inspired to try this myself with some grainsack I have on hand! Pinned!
ReplyDeleteThanks Cindy!
DeleteThese are just the cutest and I love how you embellished them!! The perfect fall decor project.
ReplyDeleteThanks Kristin!
DeleteI love how the books turned out!!! Love the fabric choices too.
ReplyDeleteThanks so much Maryann!
DeleteThese are so cute! What a fabulous way to add color and pattern to a fall vignette!
ReplyDeleteCarlene,
ReplyDeleteLOVE this idea!! Thanks so much for sharing it!!
Hugs,
Deb
Thanks so much Debbie!
DeleteBeautiful and so cozy, Carlene! Nicely done! They look SO PRO!
ReplyDeleteThanks Donna!
Delete