Target Dollar Spot Wall Envelope Makeover & Easter Chick Frame
April 05, 2023
I found this wall envelope a while back in the Target Dollar Spot area, with the intention of giving it a makeover.
Scroll on down to see the whole project along with an easy Easter project too!
(When you click on the bold Amazon, Old Sign Stencils or Dixie Belle Paint Company affiliate links you will be taken to the products I use for this project. If you order it does not change the price or service at all. As an Amazon Affiliate, Old Sign Stencils Affiliate or Dixie Belle Paint Affiliate, I earn from qualifying purchases.)
The wall envelope was part metal and part hardboard.
I used an eyeglass screwdriver to take it apart for painting.
If it wasn't still winter in Minnesota, I would have spray painted the parts.
I knew paint would stick to the hardboard but I wasn't sure about the glossy metal part.
I decided to brush on a coat of Dixie Belle's Slick Stick for glossy surfaces, since spray paint was out of the question.
I let the Slick Stick dry overnight.
I then brushed on two coats of Dixie Belle Chalk Paint in Caviar.
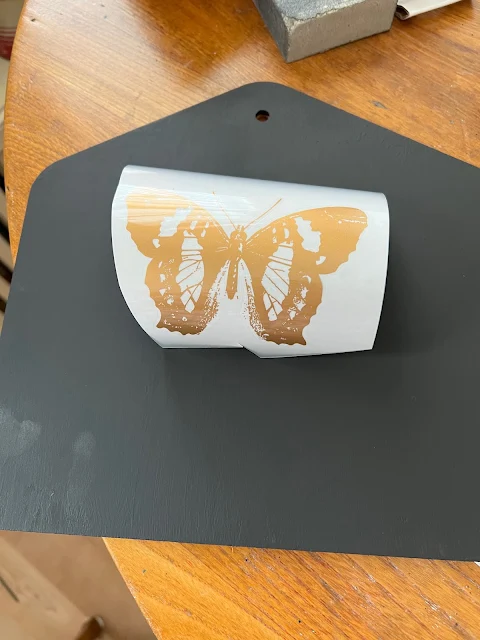
This gold butterfly decor transfer was a leftover in my Redesign with Prima transfer scraps.
I rubbed it on the hardboard back center top.
I then squeezed a bit of Rub N Buff Antique Gold onto a newspaper, and used a Dollar Tree brush to apply the gold wax to the metal bottom of the wall envelope.
I waxed the hardboard portion with Dixie Belle's Best Dang Wax in Clear.
I did not wax the antique gold part.
I left a bit of the black base coat showing through for an antique look.
Now onto an easy Easter project a lot like my honeybee frame project HERE.
I started out with an inexpensive, simple black frame. Since the frame was already black, I was able to apply Rub N Buff Antique Gold to it without applying a black base coat.
I found this adorable Easter chick graphic on the Graphics Fairy's site.
I found an Easter song in my vintage songbook, and printed the chick graphic onto it with my inkjet printer.
If you would like to create a book page graphic like this for framing, my February 25, 2023, post with the honeybee will show you how HERE.
Thanks for visiting!

Sharing is caring


%20(1).jpg)
.jpg)
.jpg)
.jpg)

%20(1).jpg)
%20(1).jpg)
Comments
Post a Comment
Thanks for your comments! I respond to most comments by email unless anonymous or no reply blogger. I also have a facebook comment box.
By leaving a comment you are consenting to your email being collected for communication purposes only. Your privacy is important to me.